Before we discuss creating your Family Gallery Wall, we need to have an understanding of what it should represent.
Urban dictionary’s top definition of family is a group of people, usually of the same blood, who genuinely love, trust, care, and look out for each other.
Let’s chat a little bit about genuine love, trust, care, and looking out for one another. I worked exclusively in the wall décor space for over two years.
During that time, I witnessed some beautiful families being displayed in horrific and unspeakable ways, how?

In their half-hazard attempts at creating a family gallery wall, they created epic failures. Ouch, it’s the truth!
Creating a family gallery wall is probably not the first thing most people think about when they are decorating. It’s usually an afterthought, which is why people struggle so much with it. The finished project usually leaves families wishing they would have put more effort into the layout, design, etc.
We’ve seen it all…
- Poorly crop photos
- Not curating the photos properly
- Not Thinking About The Layout First
- Inconsistent Spacing Between Frames
- Overuse of Matchy-Matchy Frames
- Incorrect Installation Measurements
Our team would provide a concierge service in which we would visit homes, curate the family photos, and install the finished pieces.
Basically, we used their family photos to create some jaw-dropping gallery walls. So, if you’re seeking some advice on how to build an epic “professional level” family gallery wall – I’m your girl.
Ready to make your friends jealous? Let’s do it!
Begin with Amazing Family Photos
Not everyone has the desire or interest in hiring a professional photographer. Also, with the technology of today’s cell phones everyone is capable of capturing amazing images.
In the photography world, there is a saying, “The best camera you can use is the one you have in your hands.” In today’s day and age, that’s your cell phone.
I created a free training sequence to educate my readers how best to utilize features on their cell phones.
Why would I do this? Some of our friends are award-winning photographers, and I enjoy playing assistant on photography projects from time to time. Besides, I love photography and I think my readers would appreciate the tips. In the meantime, enjoy the following tips.
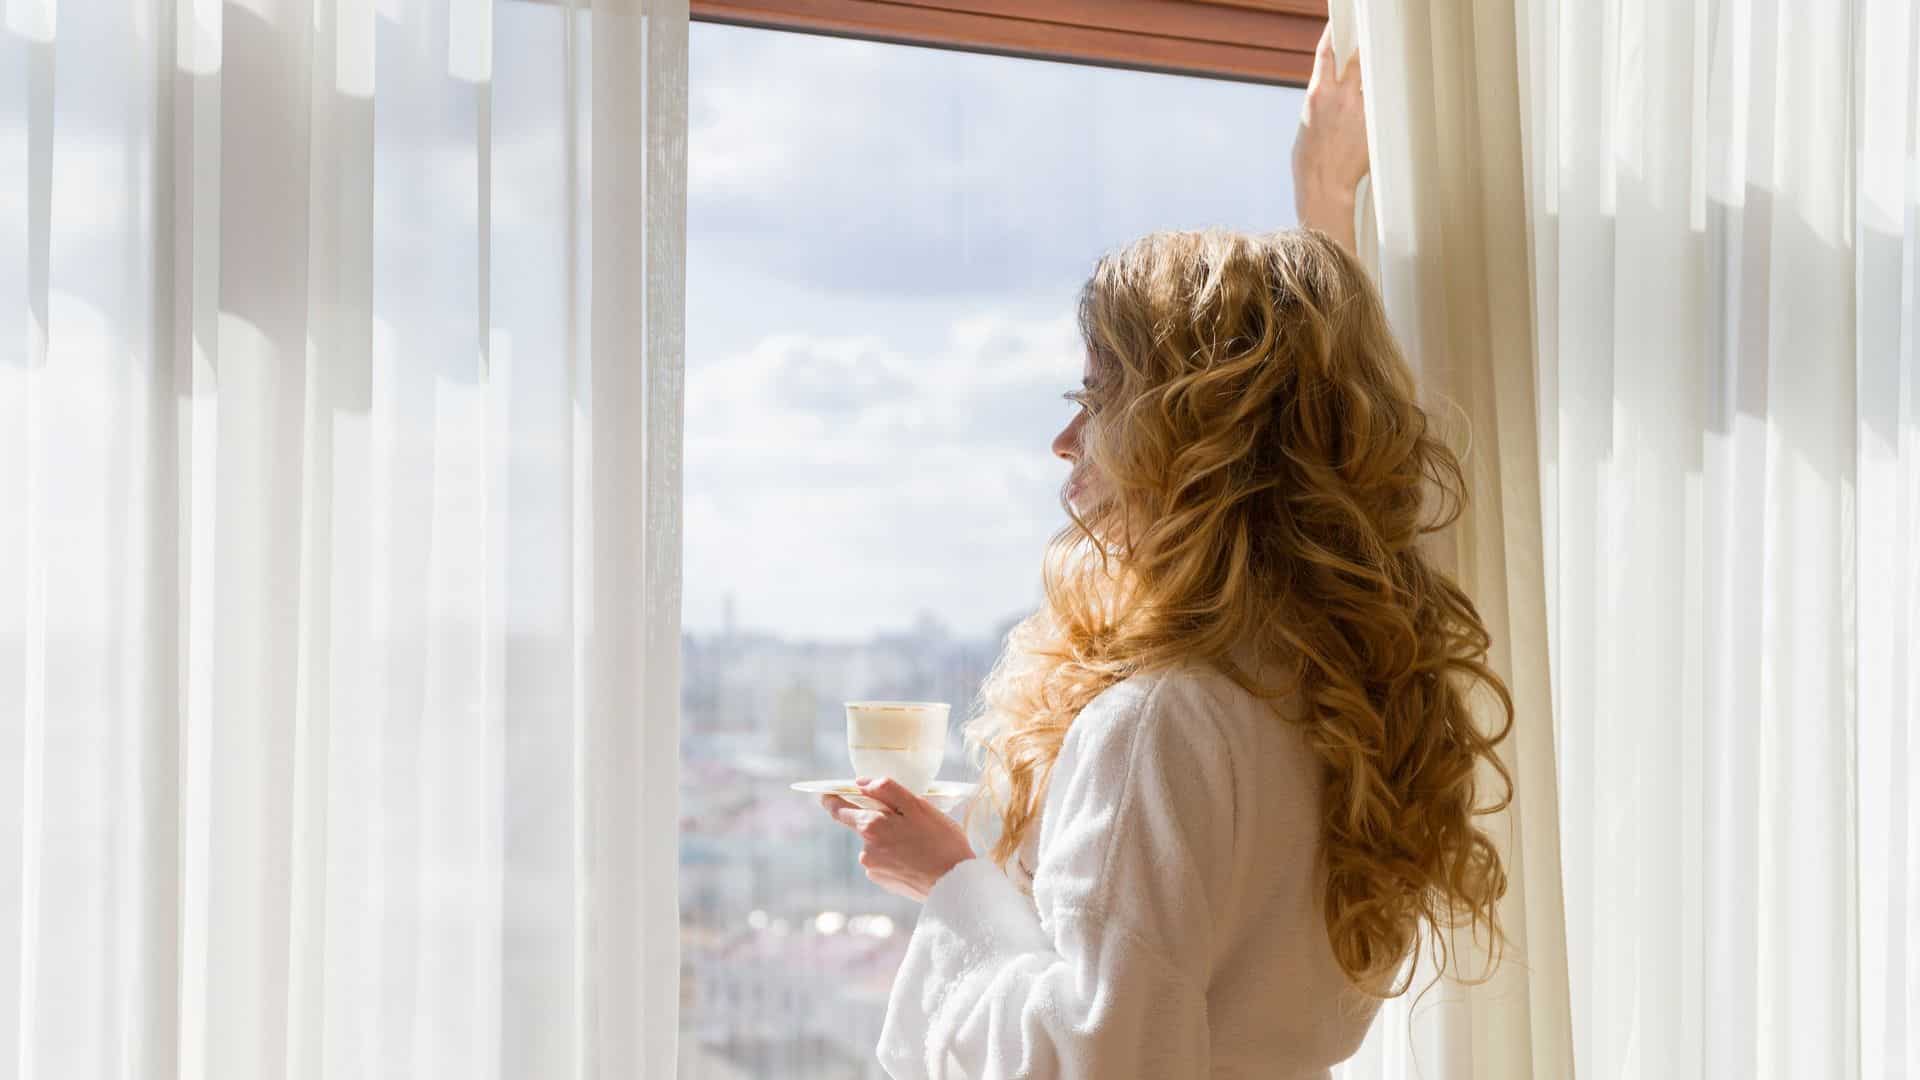
Backlighting
Backlighting means your primary light source is behind or slightly to the backside of your subject.
Most people snap a photo with the sun behind them as the photographer. The sun or light source would be shining directly at your subject. Your subject will be squinting, and your photos will have a flat appearance.
Placing the primary light source behind your subject can allow for the light to be reflected and diffused.
In other words, the sun or light will be softer, more even and generally more flattering than harsh sunlight. Another benefit is your photographs will have depth.
Create Space and Depth
Avoid shooting a photo with your subjects against a wall. The image will be flat and uninteresting.
Try moving them to areas where the viewer can experience the surroundings.
Please, don’t underestimate the importance of increasing the appearance of depth in any picture.
Capture Moments
Candid photographs capture raw expressions of people allowing for their personalities to show in the pictures.
To accomplish this we usually assign a task to the individuals we are photographing.
For example, if a child enjoys painting use that to your advantage.
Begin Planning Your Family Gallery Wall
Pick your wall
An ample blank space, such as above a couch, a hallway or along the staircase, is your best bet. If you would like to have future flexibility to add to your gallery, you may want to choose the most massive wall in your house.
Different Family Gallery Wall Styles
With so many different gallery wall styles, it can be pretty overwhelming to figure out which one to execute. Here are a few questions and examples to get you headed in the right direction.
Do you lean towards more of a minimalist and clean design?
You can accomplish this by using one or all of the methods below.
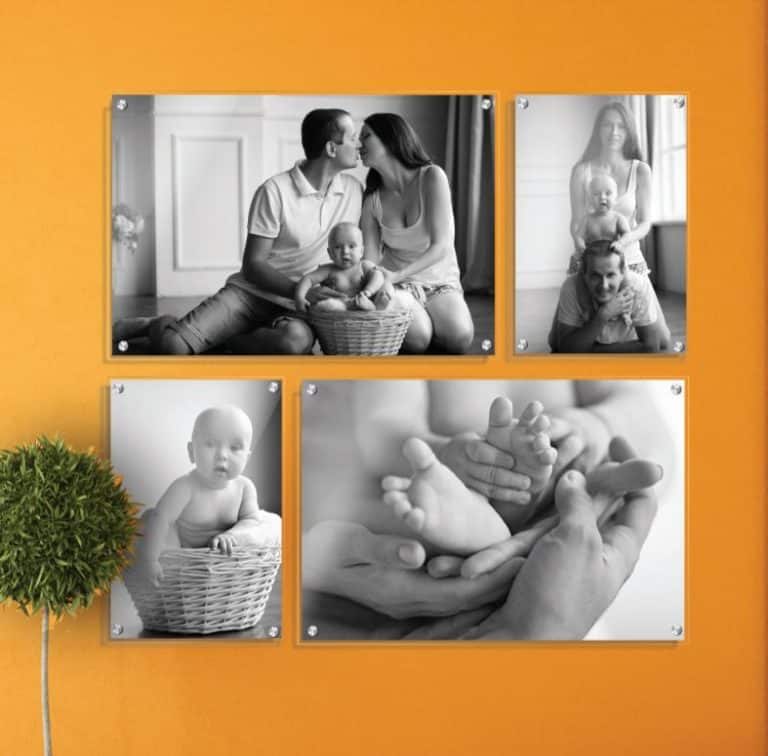
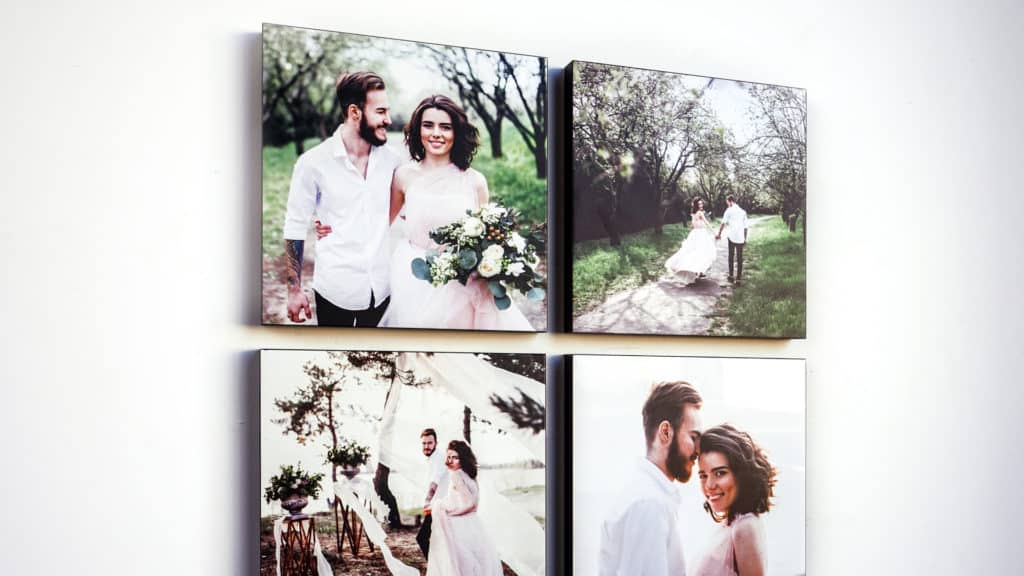
- Pick a frame-less style.
- Print black and white photos.
- Choose the same color frames.
- Use photos that are similar in style.
In other words, photos taking in the same surroundings, around the same time frame and blend well together.
If you would like to display many photos, I suggest following the same principles.
Using too many frames will look very busy, distracting, and amateur.
I’m here to remind you…you’re now a professional so let’s show off your skills.
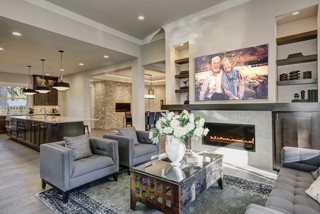
Lastly, if your interest is to create a focal point?
Go big or go home! Use one large photo as picture or create a series.
Would you like to create something with more complexity?
There is definitely a wrong way and a right way to mix and match your frames. Although your frames do not need to be the exact size, your goal is to have a good flow. To accomplish this begin by using the most substantial piece as an anchor and style the remaining pieces accordingly. Next, create some interest by adding a quote or a few pieces of art.
Print and Frame Your Family Gallery Wall
Now here’s where most homeowners get stuck – completing the project!!!
So, let’s talk about why moving forward will make you feel happy and accomplished. We’ll start with the obvious…if you’re reading this post both you and I know you are interested in displaying your photos. I further suspect it’s been on your mind for a while.
Next obstacle?
Humm….you may not be 100% sure of one or more of the pictures? Okay, that’s an easy one. Keep in mind the picture that may not be your favorite will most likely add to your overall gallery. Trust me on this, the image you may feel least drawn to will probably be someone else’s favorite. When your child, husband, or friend stops to observe your gallery, and you observe their reactions your feelings will change.
Lastly, for the most part, creating a gallery wall is not very expensive. To keep your collection fresh, you can update the photos you are least happy with in time.
Ideal Measurements for Hanging All Artwork
- The rule of thumb for height is roughly the average human eye level, which is around 57”-60”.
- Distance between frames is roughly 2″-5″.
- Distance between the botrom of your frames and top of the furniture is 6″-8″.
If you’re an expert in PhotoShop, you’ll probably be able to create a true to scale mock-up to plan out your install. For those of us that are not, I use the tried and true kraft paper trick.
Before you take out any tools and make holes in your walls, use the following method:
If you’re an expert in PhotoShop, you’ll probably be able to create a true to scale mock-up to plan out your install. For those of us that are not, I use the tried and true kraft paper trick.
Before you take out any tools and make holes in your walls, use the following method:
Plan Your Gallery Layout
- Trace each frame onto kraft paper.
- Lined it up with the backside of the frame to mark in pencil where the hanger is.
- Tape the kraft paper to the wall.
- Hammer your nail into each pencil marking.
- Rip off the paper.
- Hang up your frames.
In Conclusion
Hopefully, you found this post helpful, and you are on your way to creating a fantastic family gallery wall. Feel free to save this article for future reference or share it on your social media. If you need a more assistance, don’t be shy about asking questions, drop me a comment below.
For more home styling tips and tricks drop by anytime. Hey, we’re always up for company.




Leave a Reply